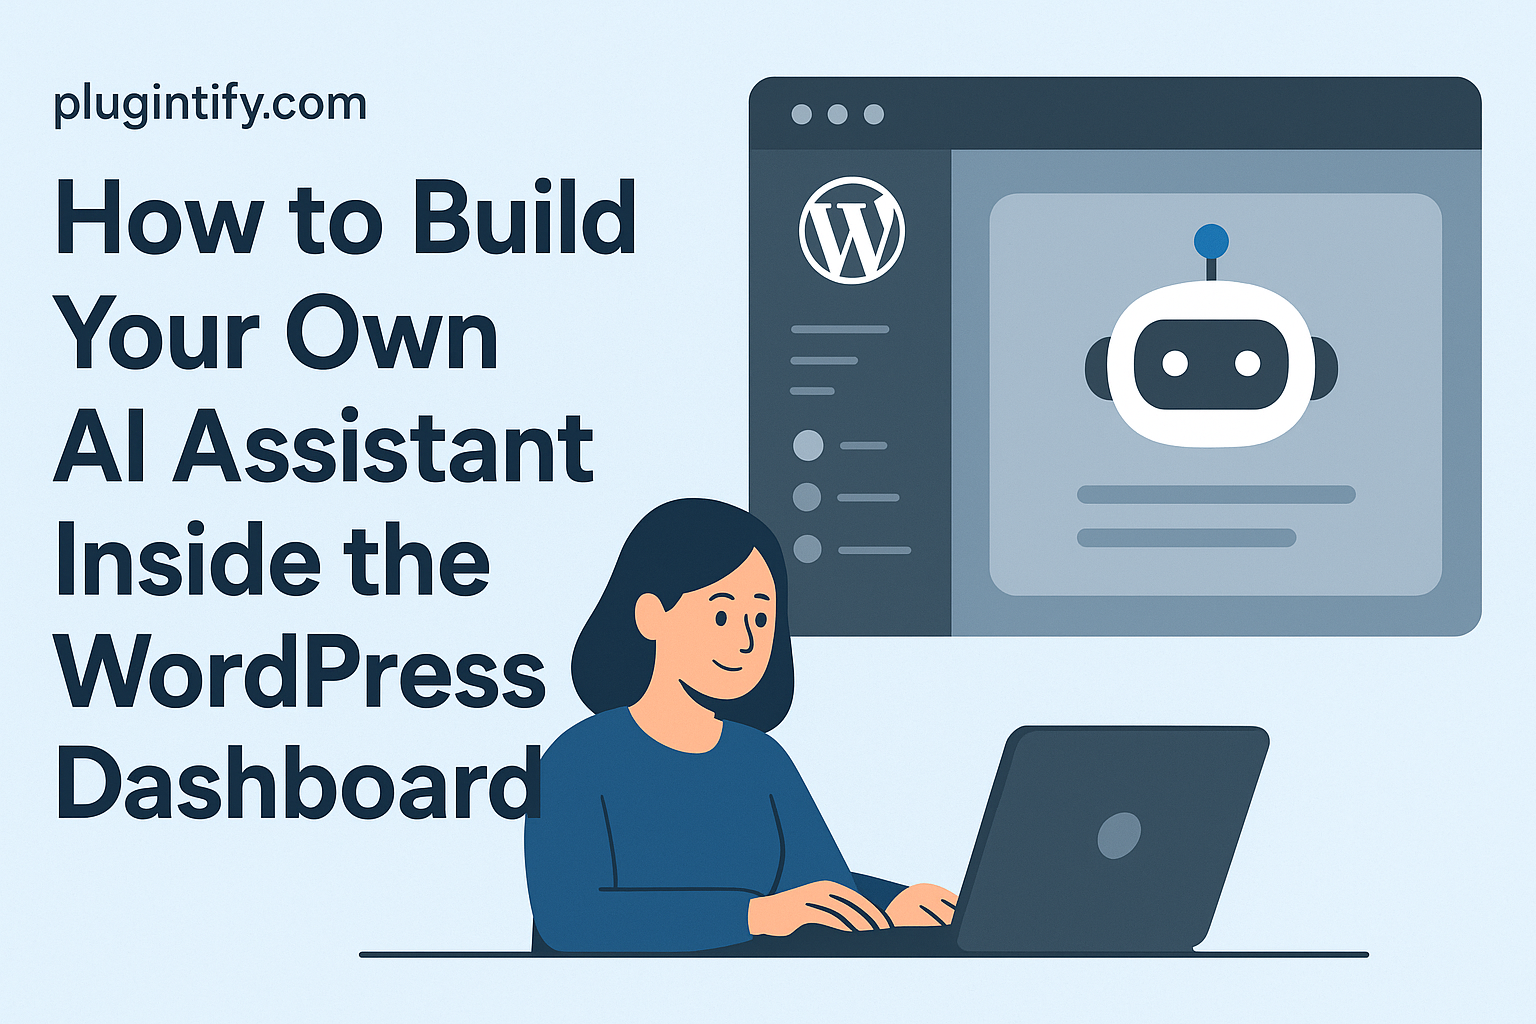
How to Build Your Own AI Assistant Inside the WordPress Dashboard
Introduction
Imagine having an AI assistant right inside your WordPress dashboard — one that can generate content ideas, write SEO titles, respond to support tickets, or even help you debug code. Thanks to modern APIs and a bit of PHP or JavaScript, it’s now possible to build your own smart assistant directly into WordPress.
In this guide, we’ll show you step-by-step how to create an AI assistant inside the WordPress admin area using OpenAI (or any other large language model API). You’ll learn the architecture, setup, and practical use cases.
🧩 Step 1: Understand the Core Architecture
An AI assistant inside WordPress works through three main components:
- Frontend interface: A simple chat UI added to your dashboard (usually with JavaScript or React).
- Backend endpoint: A custom REST API route in WordPress that sends messages to the AI model.
- AI model integration: The connection between your site and the OpenAI (or similar) API.
Essentially, your plugin acts as a bridge between WordPress and the AI model.
🛠️ Step 2: Create a Custom Plugin Skeleton
Start by creating a folder in /wp-content/plugins/ called wp-ai-assistant and inside it, add a main file:
/*
Plugin Name: WP AI Assistant
Description: An AI assistant inside your WordPress dashboard.
Version: 1.0
Author: Your Name
*/

add_action('admin_menu', function() {
  add_menu_page('AI Assistant', 'AI Assistant', 'manage_options', 'wp-ai-assistant', 'wp_ai_assistant_page');
});

function wp_ai_assistant_page() {
  echo '<div id="wp-ai-chat">Loading assistant...</div>';
  echo '<script src="' . plugin_dir_url(__FILE__) . 'chat.js"></script>';
}
This creates a new page in the WordPress admin called “AI Assistant.”
⚙️ Step 3: Add the Chat Interface
In the same plugin folder, create a file named chat.js with this minimal script:
const chatBox = document.getElementById('wp-ai-chat');
chatBox.innerHTML = `
  <div style="max-width:600px;margin:auto;">
    <h2>Your AI Assistant</h2>
    <textarea id="ai-input" placeholder="Ask me anything..." style="width:100%;height:80px"></textarea>
    <button id="ai-send">Send</button>
    <div id="ai-response" style="margin-top:1em"></div>
  </div>
`;

document.getElementById('ai-send').addEventListener('click', async () => {
  const input = document.getElementById('ai-input').value;
  document.getElementById('ai-response').innerHTML = 'Thinking...';
  const res = await fetch(ajaxurl + '?action=wp_ai_query', {
    method: 'POST',
    headers: {'Content-Type': 'application/json'},
    body: JSON.stringify({prompt: input})
  });
  const data = await res.json();
  document.getElementById('ai-response').innerHTML = data.response;
});
🤖 Step 4: Connect to OpenAI (or Your AI API)
Now add the backend code that sends the user’s prompt to the AI API. Add this in your main plugin file:
add_action('wp_ajax_wp_ai_query', function() {
  $body = json_decode(file_get_contents('php://input'), true);
  $prompt = sanitize_text_field($body['prompt']);

  $response = wp_remote_post('https://api.openai.com/v1/chat/completions', [
    'headers' => [
      'Authorization' => 'Bearer YOUR_OPENAI_API_KEY',
      'Content-Type' => 'application/json',
    ],
    'body' => json_encode([
      'model' => 'gpt-3.5-turbo',
      'messages' => [
        ['role' => 'system', 'content' => 'You are a helpful WordPress assistant.'],
        ['role' => 'user', 'content' => $prompt],
      ],
    ]),
  ]);

  $body = json_decode(wp_remote_retrieve_body($response), true);
  wp_send_json(['response' => $body['choices'][0]['message']['content'] ?? 'No response']);
});
💡 Remember to store your API key securely — never hard-code it in production. Use wp-config.php or an environment variable.
🧠 Step 5: Train the Assistant for WordPress Context
You can customize your AI’s behavior by changing the system message. For example:
['role' => 'system', 'content' => 'You are a WordPress development assistant. Help users write content, troubleshoot PHP, and improve SEO.']
Now your AI assistant will respond in a way that’s relevant to your website management tasks.
💬 Step 6: Use Cases and Extensions
Once your assistant works, you can expand its abilities:
- Content generation: Draft posts, titles, or SEO snippets.
- Technical help: Suggest PHP or CSS fixes.
- Customer support: Auto-draft replies to user inquiries.
- Data insight: Summarize analytics or log reports.
With more advanced integration, you can even make the AI call internal WordPress functions — for example, wp_create_post() — under human supervision.
🚀 Step 7: Secure and Deploy
Before making your AI assistant public:
- Use
nonceverification for AJAX requests. - Restrict access with
manage_optionscapability. - Log all requests to prevent abuse.
- Consider rate limiting or caching frequent responses.
🎯 Conclusion
Building your own AI assistant inside the WordPress dashboard isn’t as complex as it sounds. With just a few lines of code, you can integrate AI into your daily workflow — automating content, simplifying development, and improving productivity.
Want a ready-to-use version of this project? Stay tuned on Plugintify.com for a free plugin release soon.